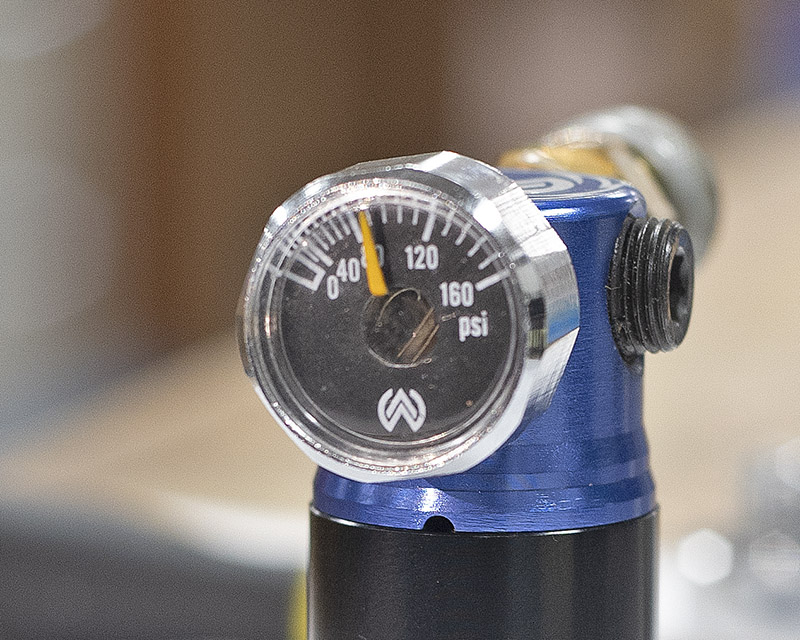
If your STORM Regulator gauge is stuck and/or the spring behind the needle (see photo) is visibly out of place, you will need to replace the gauge. You can get a replacement gauge here: https://www.wolverineairsoft.com/product/micro-gauge-for-storm-regulator/
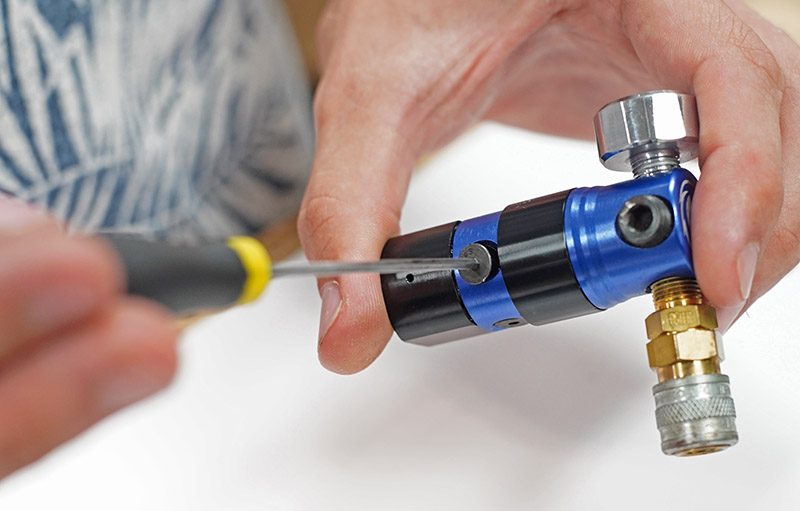
Disassemble the regulator cap from the base by removing the retention screws. Tighten the pressure adjustment screw so that the internals can be freely removed from the cap. Refer to the specific Owner’s Manual for your regulator for detailed information.
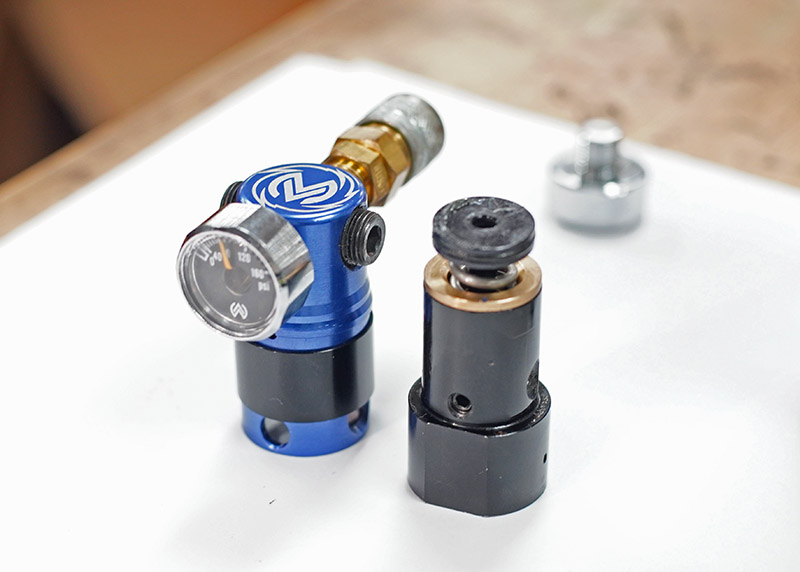
Ensure the internal parts of the regulator are completely removed from the regulator cap before continuing.
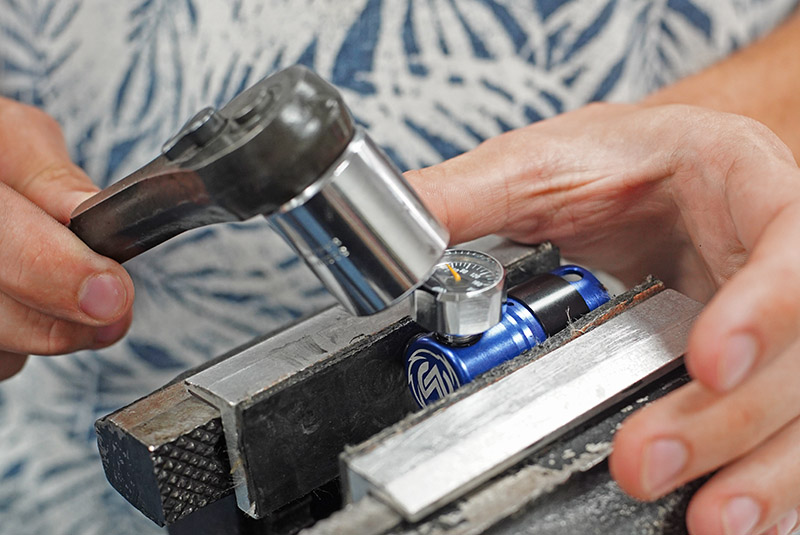
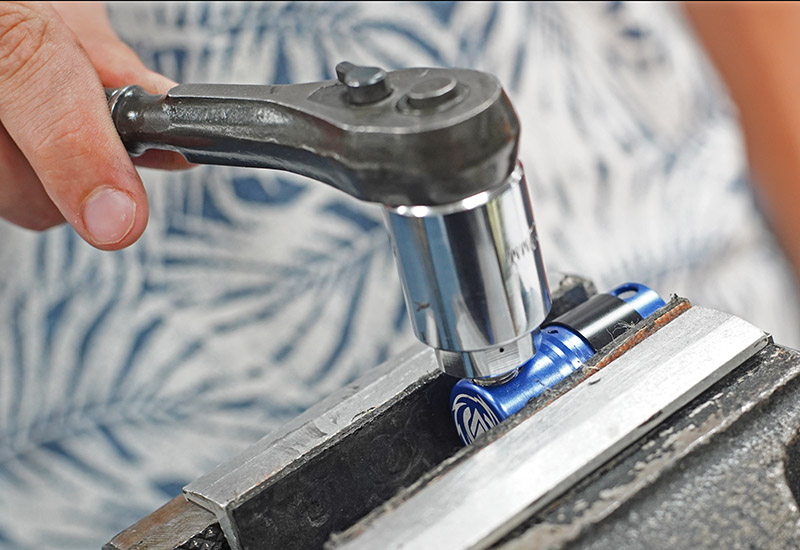
Remove the damaged gauge from the regulator cap with a 22mm hex socket, turning counter-clockwise. A vice is recommended.
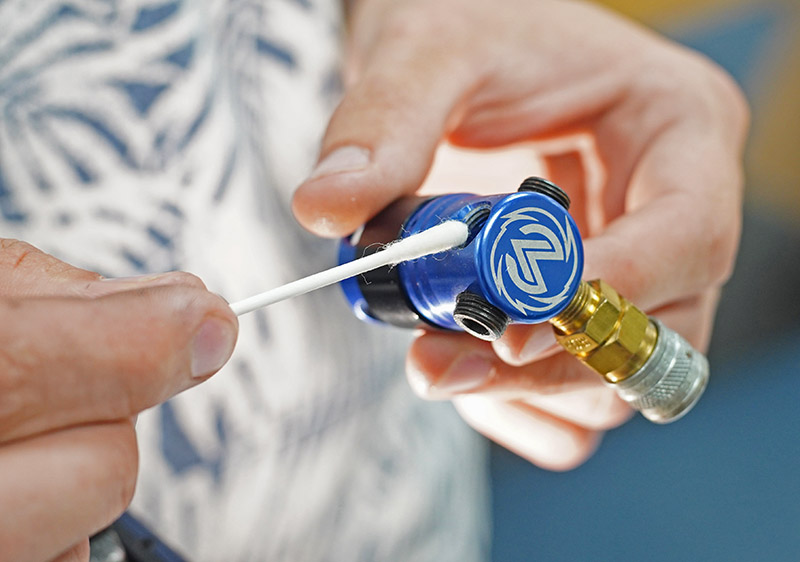
Clean the threads thoroughly inside the gauge port with acetone.
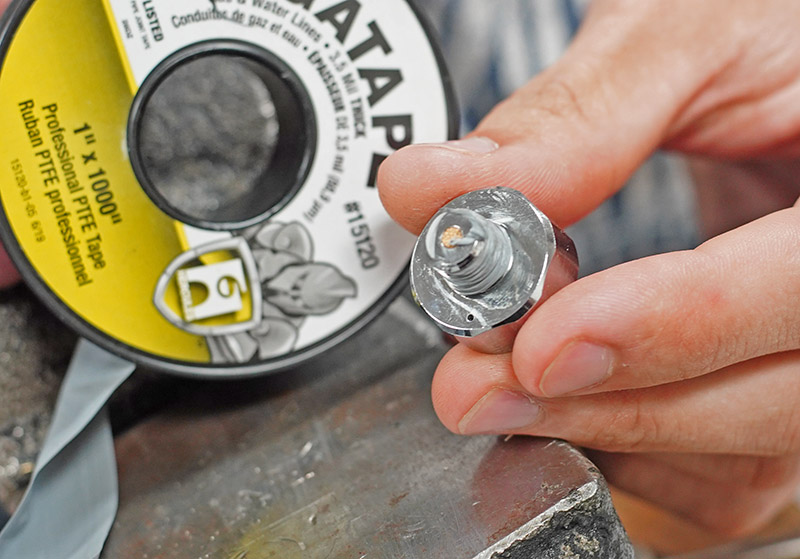
Wrap the threads of your new replacement gauge with PTFE (Teflon) thread tape.
Thread the new gauge into the regulator cap using a 22mm hex socket. Turn the gauge clockwise 2 to 3 times and then orient the gauge as desired. Connect your regulator to an air source and ensure there are no leaks.