
Category: MTW
Covers MTW-Spec replicas including MTW, MTW-9, MTW-308 and MTW MK18.
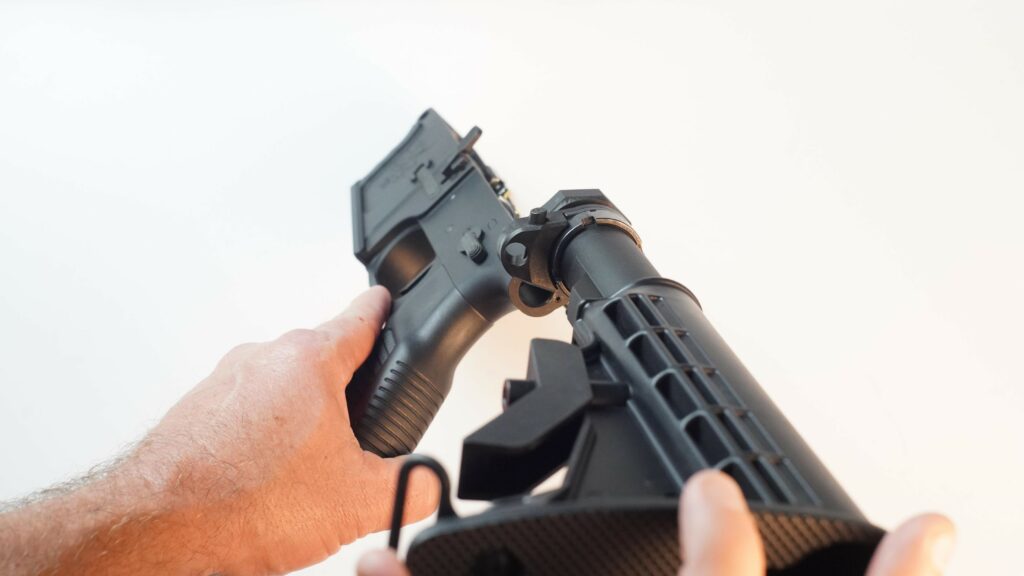
Picatinny Stock Adapter and Folding Stock Installation
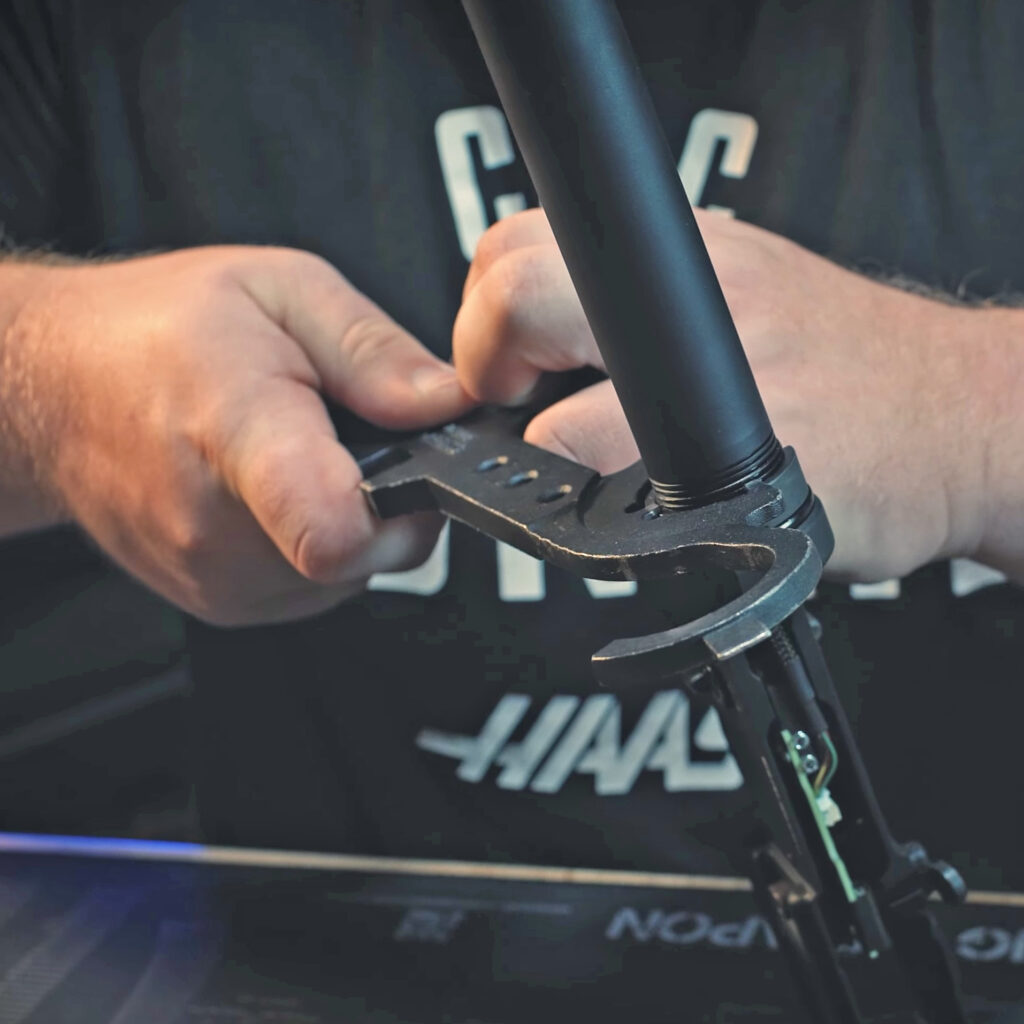
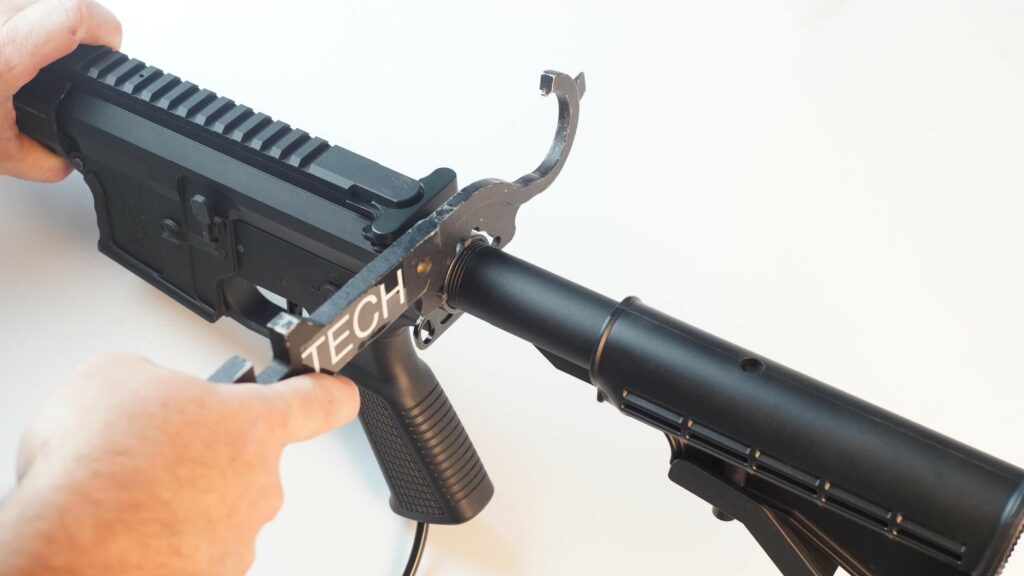
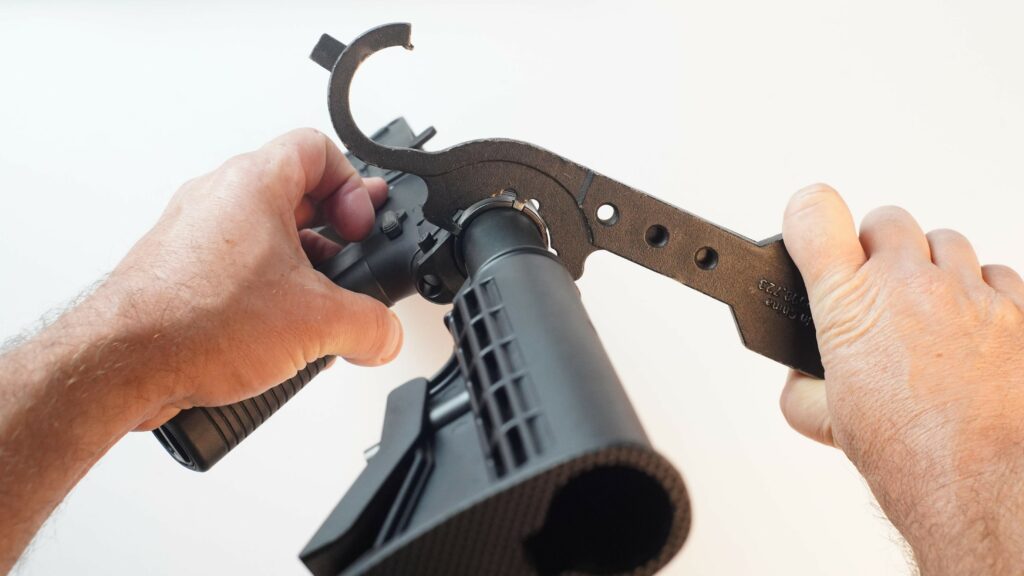
Removing the MTW Castle Nut and Buffer Tube
Like a real AR-10 or AR-15, the MTW uses a real steel castle nut which can be removed with an armorer’s wrench by turning it counter-clockwise.
The buffer tube should then unscrew counter-clockwise from the lower receiver.
On MTWs with the FRAC installed like the MTW-308 and Gen-12 MTW Shotgun, a small amount of blue Loctite is applied to the buffer tube threads during manufacturing, requiring a little additional force to remove.
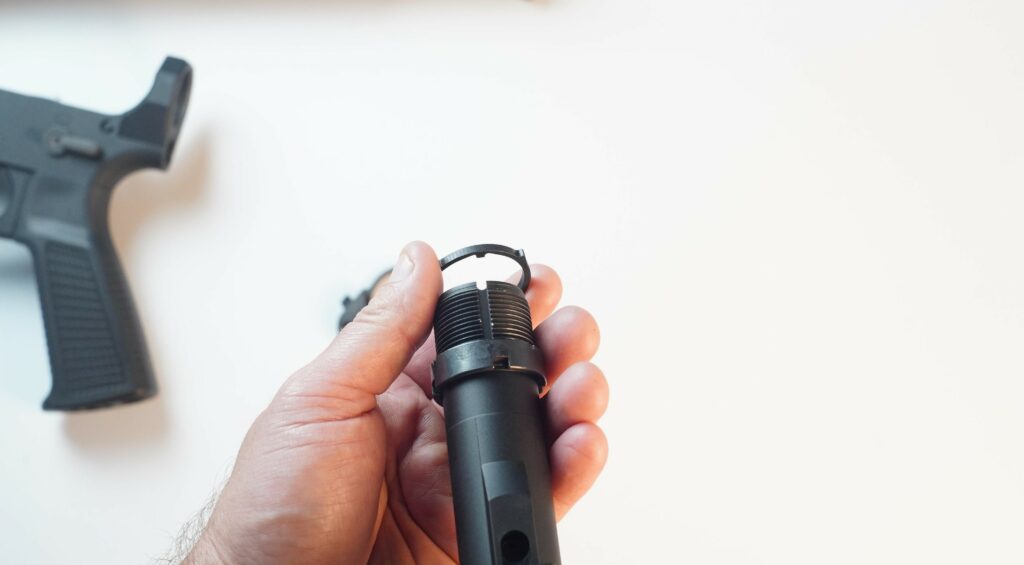
When reinstalling the buffer tube, make sure you don’t screw it past flush with the inside of the lower receiver.
Barrel Cleaning
Magazine Maintenance
PTS EPM1 Magazine Maintenance Tutorial by PTS
ASG Scorpion EVO Magazine Maintenance Tutorial by AirsoftCamMan.
T5 Curved Trigger Installation
MTW Compatibility Guide
The MTW is designed to be a modular platform with highly interchangeable parts within the MTW-Spec family, with real steel firearms, and with AEGs when possible. The chart below can help you answer compatibility questions among different components and MTW series.
Viewing on mobile? Turn your phone sideways!
| Feature | MTW-M4 (Billet, Forged) | MTW-9 | MTW-308 | MTW-Shotgun | Article Series |
|---|---|---|---|---|---|
| Barrel (Inner) | AEG | AEG | AEG | AEG | AEG |
| Barrel (Outer) | MTW | MTW | MTW | MTW Gen-12 | MTW |
| Body Pins | Real Steel M4 | Real Steel M4 | Real Steel 308 | Real Steel 308 | Real Steel M4 |
| Bolt Catch | MTW | MTW | MTW | MTW | MTW |
| Bucking | AEG | AEG | AEG | MTW Gen-12 | AEG |
| Buffer Tube | Real Steel | Real Steel | Real Steel | Real Steel | Real Steel |
| Charging Handle | Real Steel with modification | Real Steel with modification | Real Steel with modification | MTW Gen-12 | N/A |
| Contact Yoke | MTW | MTW | MTW | MTW | MTW |
| Electronics | MTW | MTW | MTW | MTW | MTW |
| Engines | INFERNO/REAPER | INFERNO/REAPER | INFERNO | HAVOC | INFERNO/REAPER |
| Feed Tube1 | MTW M4 | MTW-9 | MTW-308 | MTW M4 | MTW M4 |
| Flash Hider | 14mm CCW | 14mm CCW | 14mm CCW | MTW Gen-12 | 14mm CCW |
| Grips2 | Real Steel | Real Steel | Real Steel | Real Steel | Real Steel |
| Hop up | MTW | MTW | MTW | MTW Gen-12 | MTW |
| Magazines | MTW/AEG (M4) | ASG EVO | MTW/AEG (SR25/308) | MTW/AEG (SR25/308) | MTW/AEG (M4) |
| Rails3 | AEG | AEG | AEG | MTW Gen-12 | AEG |
| Receiver (Lower) | MTW M4 | MTW-9 | MTW-308 | MTW-308 | MTW M4 |
| Receiver (Upper) | MTW-M4 | MTW-M4 | MTW-308 | MTW Gen-12 | MTW-M4 |
| Selector Switch | MTW | MTW | MTW | MTW | MTW |
| Springs, Pins and Detents | Real Steel M4 | Real Steel M4 | Real Steel M4 | Real Steel M4 | Real Steel M4 |
| Triggers | MTW | MTW | MTW | MTW | MTW |
| WRAITH Stocks | MTW | MTW | MTW | MTW | MTW |
- Three generations of feed tube exist. For more details, see this article. ↩︎
- If storing battery in or running air line through grip, modification is needed. See video. ↩︎
- MTW barrel nut only compatible with MTW rails. Most AEG rails and Real Steel barrel nuts are compatible. ↩︎
FRAC Installation / Uninstallation
Video Instructions
Text Instructions
Loosen castle nut with armorer’s wrench. Unscrew castle nut all the way back and slide buffer tube plate back. Don’t lose selector spring and detent if not retained in lower. Unscrew buffer tube.
Install FRAC orientation ring against castle nut.
Install FRAC body with button on the left side of the gun. (Shown upside down. Don’t push the button on the FRAC!)

Thread buffer tube into lower. Align buffer tube to gun and push FRAC up to the back of the lower. Snug down castle nut by hand. Do not thread buffer tube in past the front edge of the buffer tube extension or upper will not install.
Tighten Castle nut with armorer’s wrench.
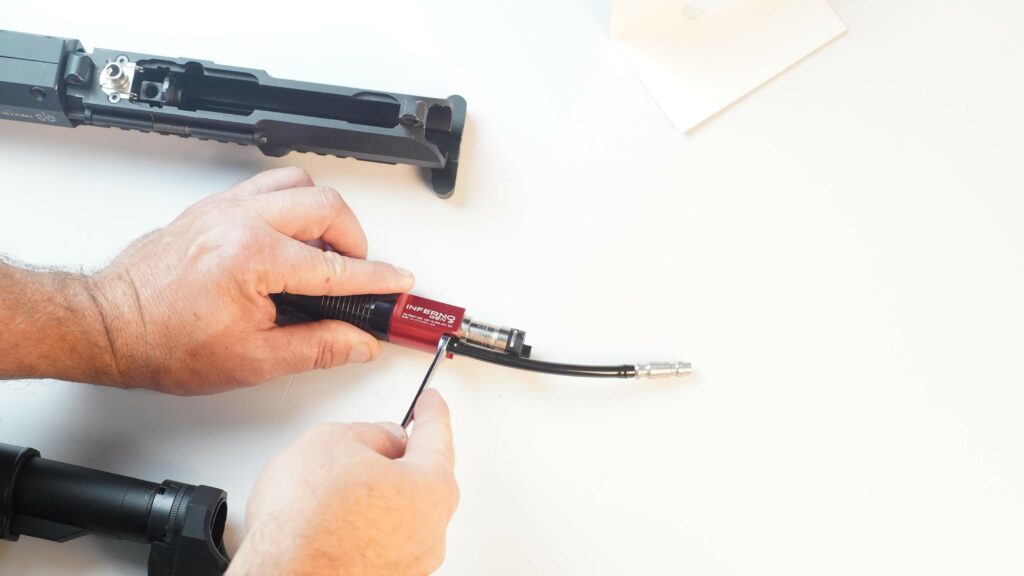
Remove air line with ¼” wrench.

Install FRAC air line with ¼” wrench.
M4/MTW-9: Use 3.5″ airline.
MTW-308/Shotgun: use 4.5″ airline.
Install engine.
M4/MTW-9: Upside down (airline on top of engine).
MTW-308: Install regularly.
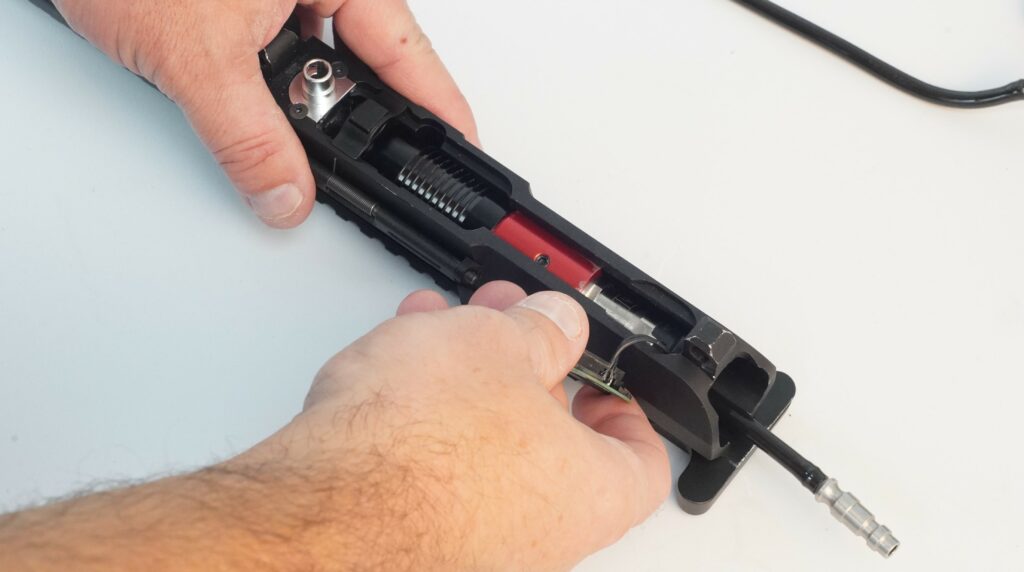
Feed airline through FRAC while holding button, then secure body pins.

Uninstallation
Got a FRAC but want to switch back to a traditional grip line? It’s easy to uninstall. But first you’ll need a standard gripline and your choice of sling plate.
Loosen the castle nut with an armorer’s wrench, and then unscrew the buffer tube from the MTW to remove it. If your FRAC was preinstalled on your MTW when you purchased it, your buffer tube may had a small amount of blue Loctite applied to the threads, requiring a little additional force to remove.
Remove the FRAC and FRAC orientation ring and replaced with your sling plate. Reinstall your buffer tube. Do not thread buffer tube in past the front edge of the buffer tube extension or upper will not install. Tighten the barrel nut.
Remove the engine from your MTW and remove the FRAC air line with ¼” wrench. Replace it with your standard grip line and reinstall your engine.

308/Shotgun Firmware Configurations
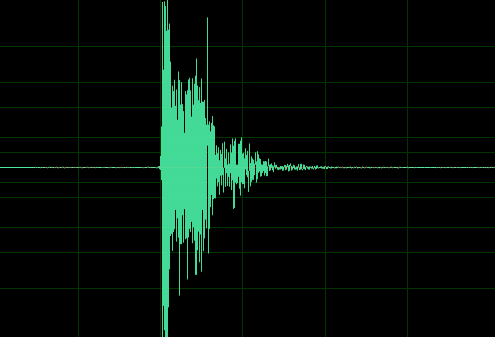
The MTW-308 is shipped with a the standard MTW Spartan Electronics Control Board with dedicated 308/Shotgun firmware. This firmware includes two configurations: “308 Mode” and “Shotgun Mode.” The MTW-308 is set to “308 Mode” from the factory, but it is possible to change the mode accidentally and enter “Shotgun Mode,” which features additional dwell (a longer release of air) only suitable for shotgun builds. You can tell which configuration your MTW is set to by listening to the sound of the dwell. See the examples below.
308 Mode
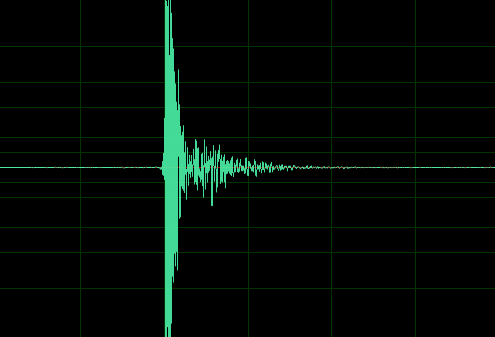
Shotgun Mode
The configuration can be toggled between the two modes by holding down the trigger for at least 15 seconds. The MTW may fire or make a small click to let you know the mode has been changed.
NOTE: The MTW may also fire after 5 seconds, indicating the select fire mode has been changed. Continue to hold the trigger until the 15-second mark and the gun fires or clicks. If you desired, you can then set your fire mode as desired by holding down the trigger for 5 seconds. See this article for more information: https://www.wolverineairsoft.com/knowledgebase/mtw-spartan-electronics-for-mtw-spec-fire-modes/